It has many clever editing tools that let users refine their documents with pictures, fonts, etc. Talking about adding pictures, we have created a guide detailing the process of rotating an image in Google Docs. This step-by-step guide is straightforward to follow.
Method 1. Directly Rotate the Image
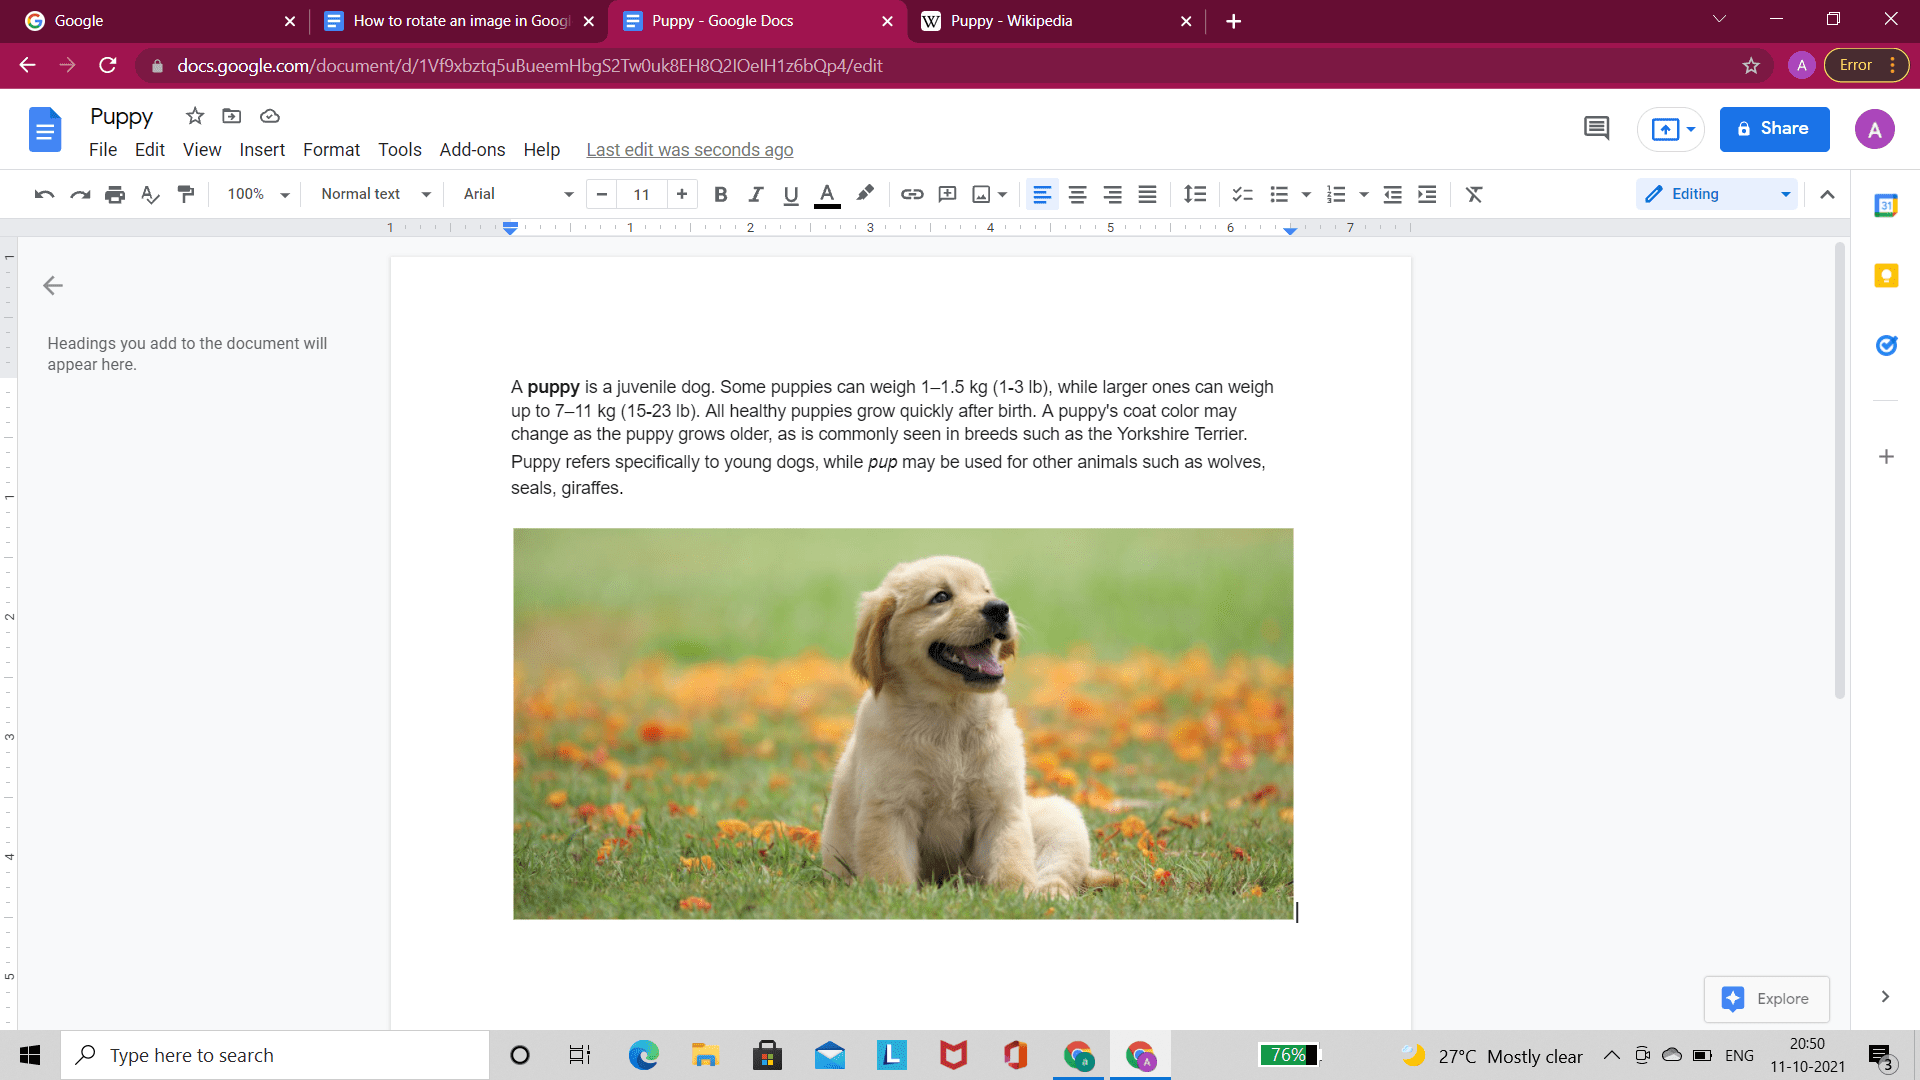
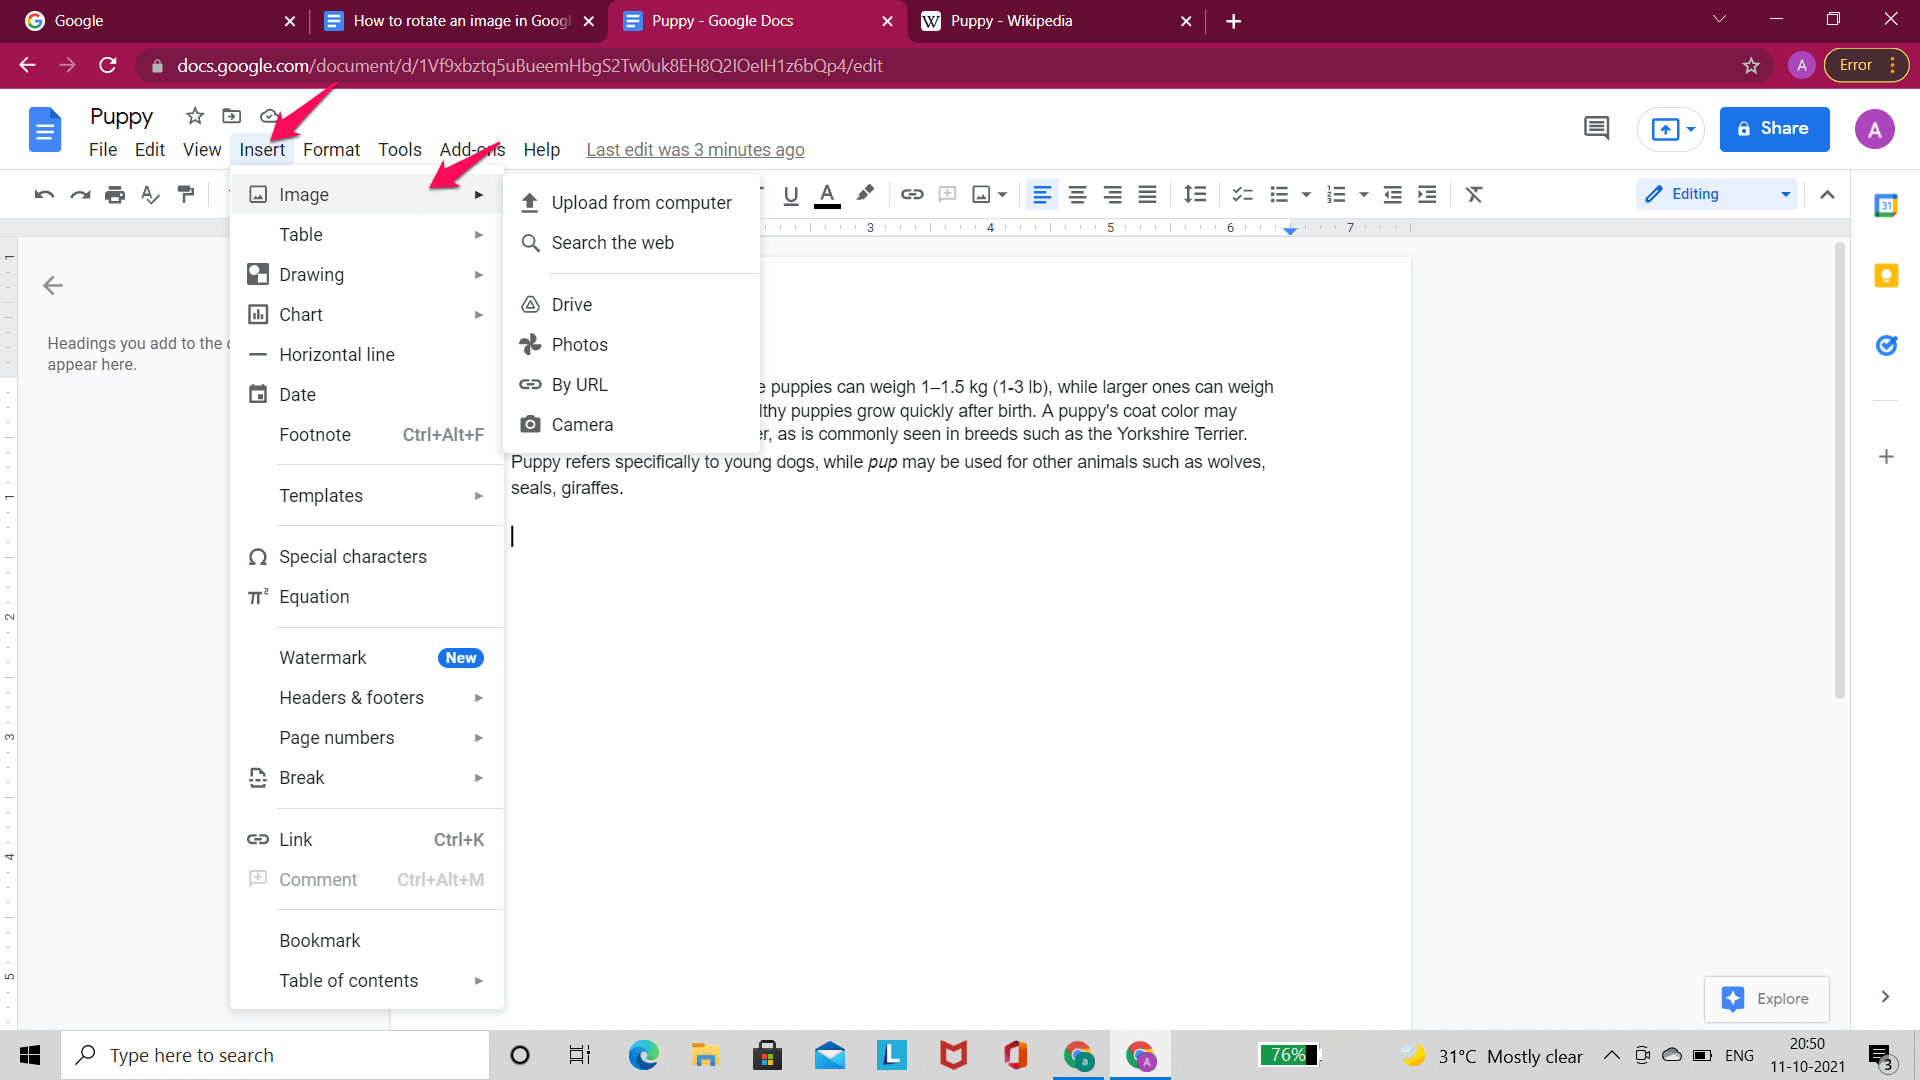
Step 1: Go to Google Docs, where you have inserted the image. If you haven’t inserted an image, then you do it. From the toolbar located at the top, click on ‘Insert‘. Next, select ‘Image’ from the dropdown menu that appears. Select the location from where you want to upload your image. You can upload an image from locations like your computer, Google Drive, Google Photos. Users can even insert an image through a URL.
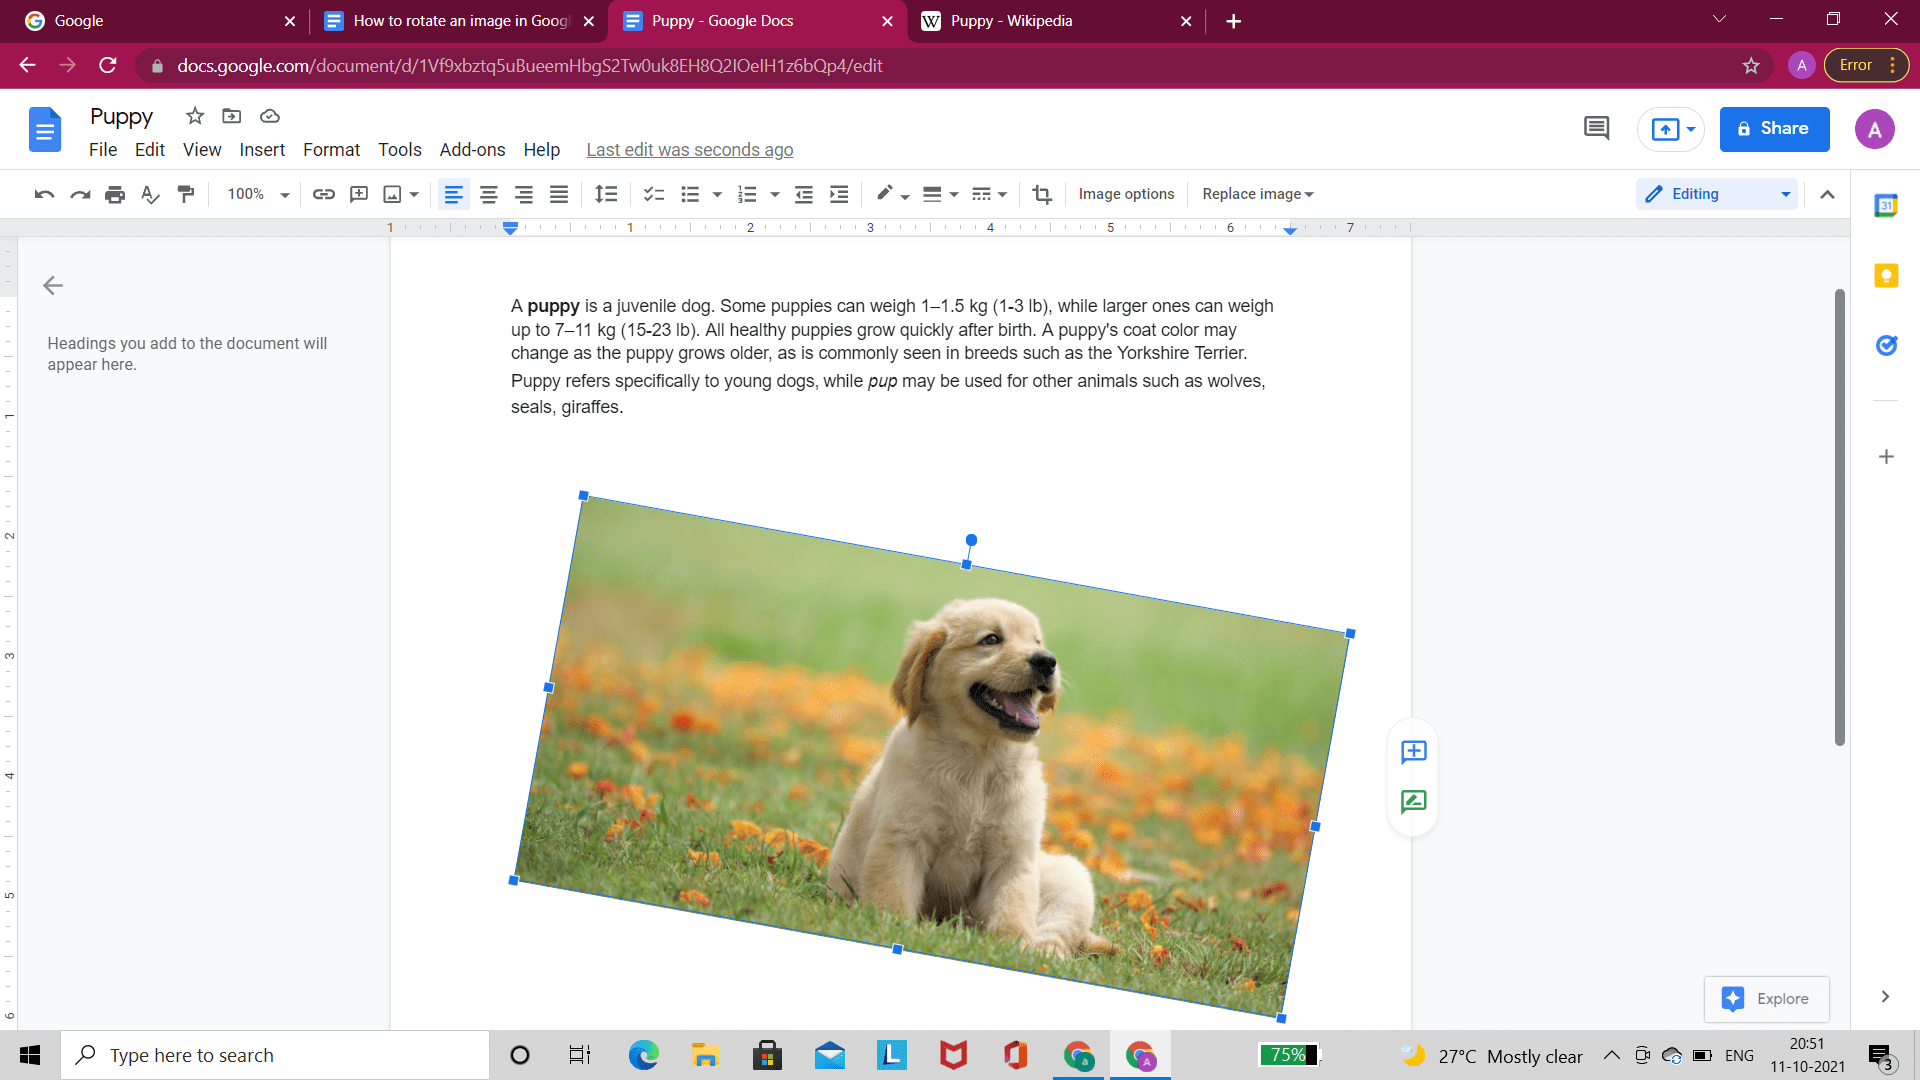
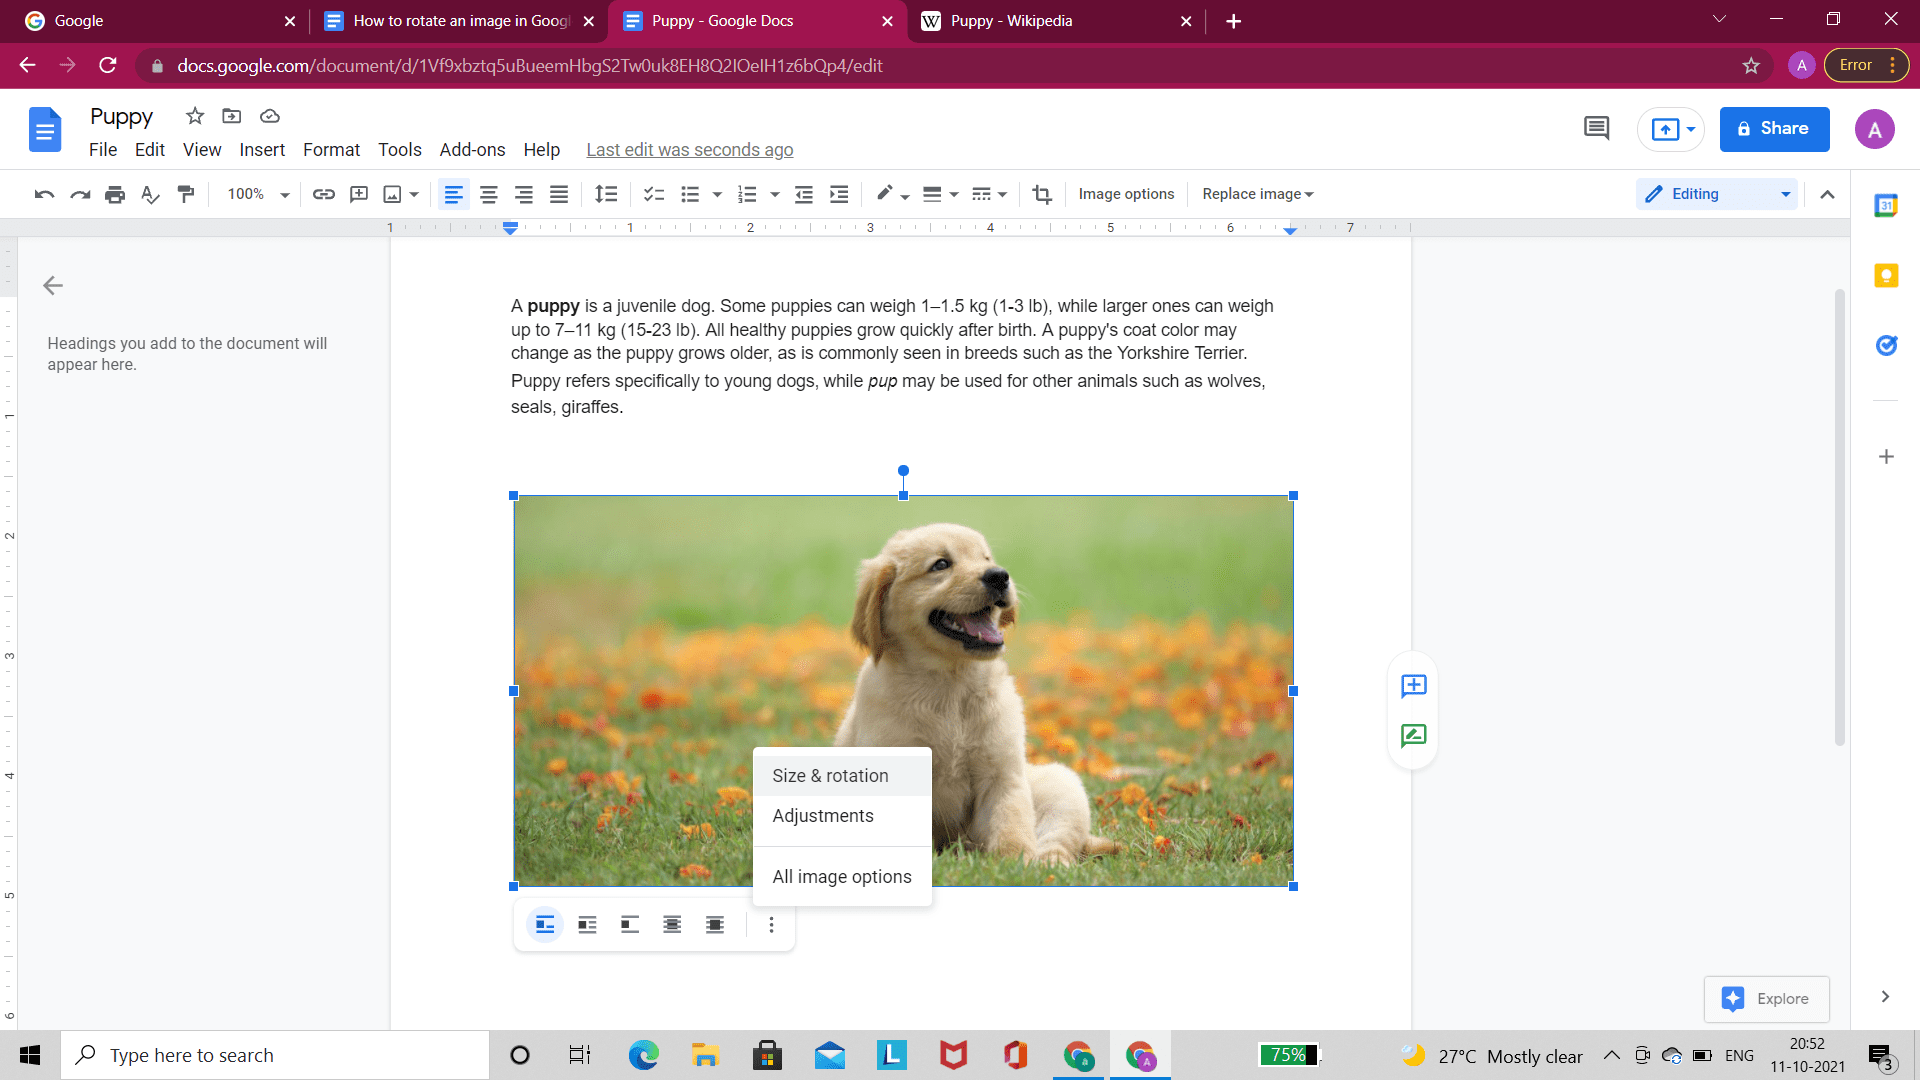
Step 2: After inserting the image, select it. A blue border will appear around the image. This blue border will have square handles and are extended like with a circle at the top. The blue squares can be used to resize the image but you don’t need them right now!
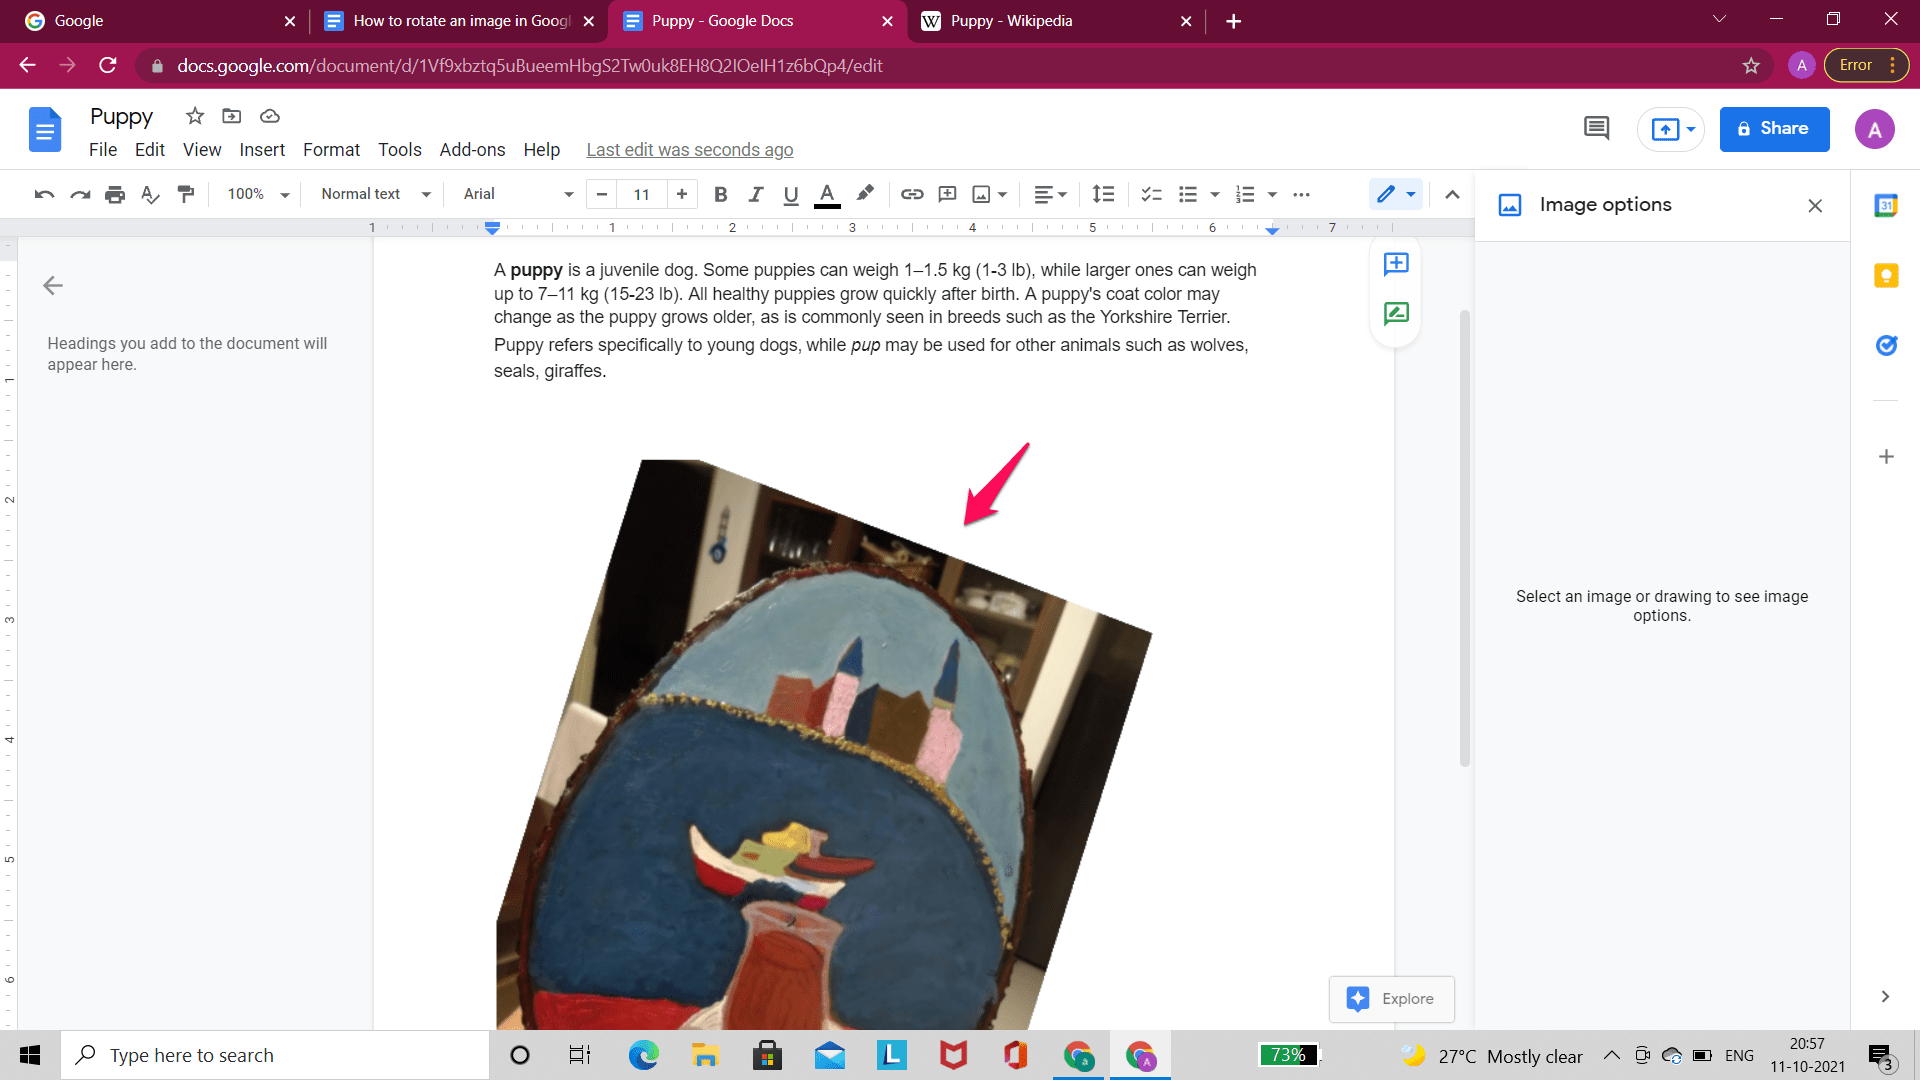
Step 3: The small circle that appears at the top of the border is what you are looking for! This small circle can be used to rotate the image in whatever direction you’d like. Click and hold on to this circle to rotate the image, and then let go once you’re satisfied.
Please note that rotating an image may move it down in the document. If you do not find your image after rotation, then scroll down, it may have shifted to fit in the page.
Method 2. Adjust Size and Rotation
Step 1: Go to the Google Docs you’ve inserted the image in or insert the image if you haven’t already. You can follow the steps given above to insert an image.
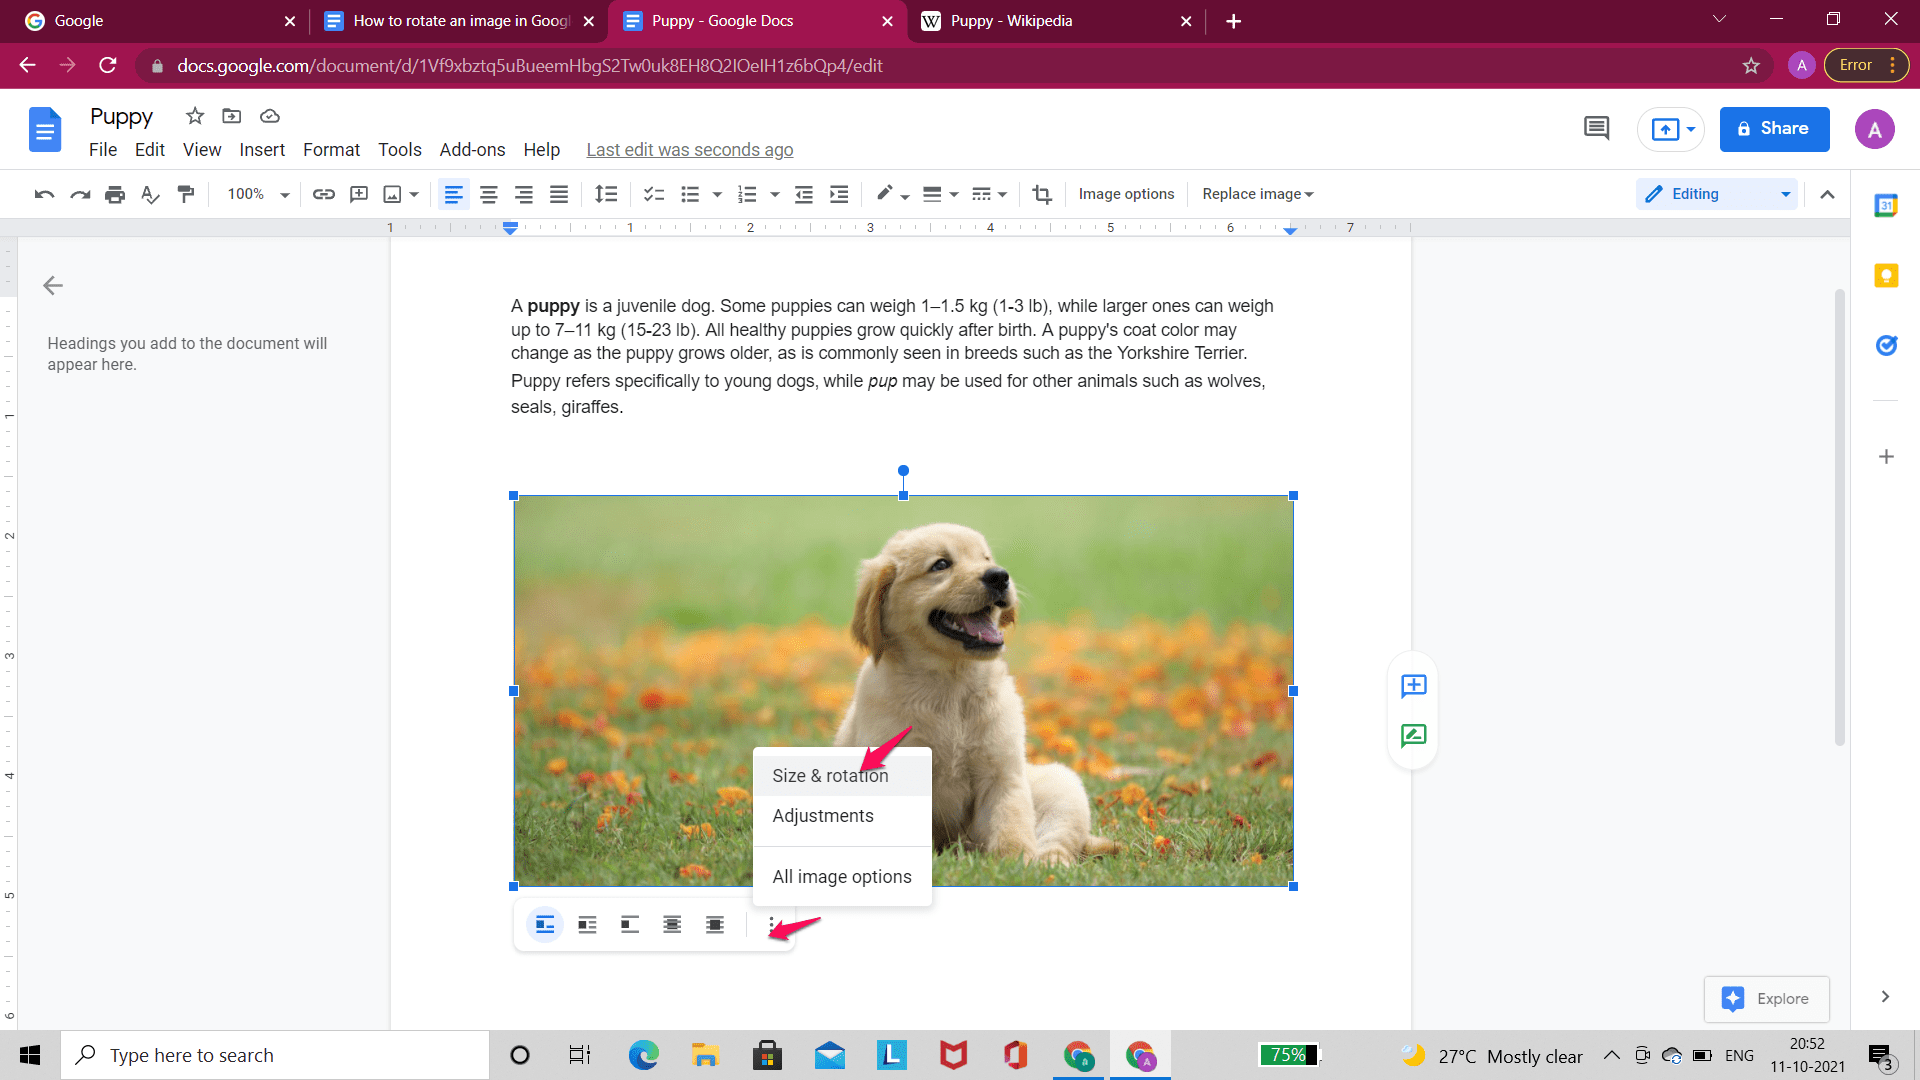
Step 2: Select the image. A small menu will appear below the image, along with the blue border mentioned above. Click on the three vertical dots icon. This is the Image options menu. Next, select ‘ Size and Rotation’.
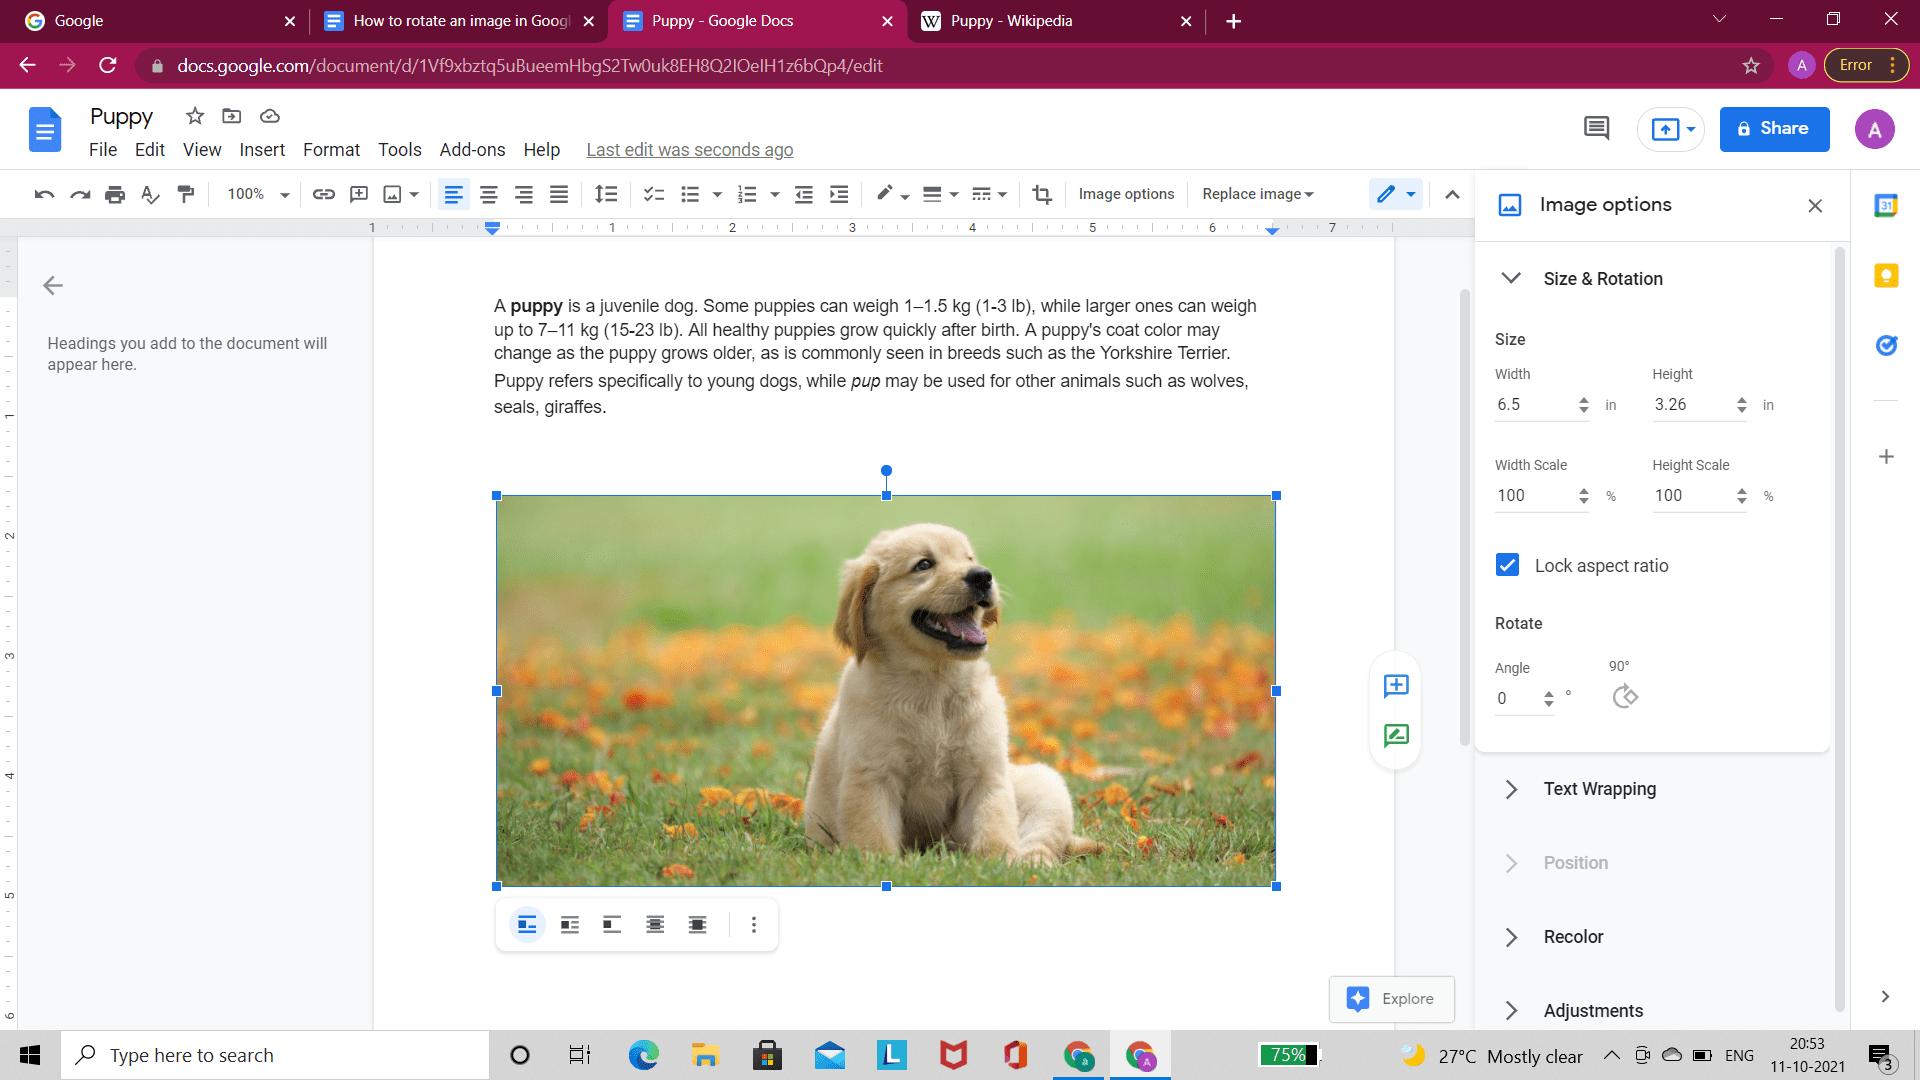
Step 3: Clicking on ‘Size and Rotation’ will open an ‘Image Options‘ menu at the right-hand side of the page. Under the ‘Rotate‘ section, you can either rotate the image by ninety degrees or change the angle of the picture. After this, you’re done!
Method 3. Rotate Image in Drawing
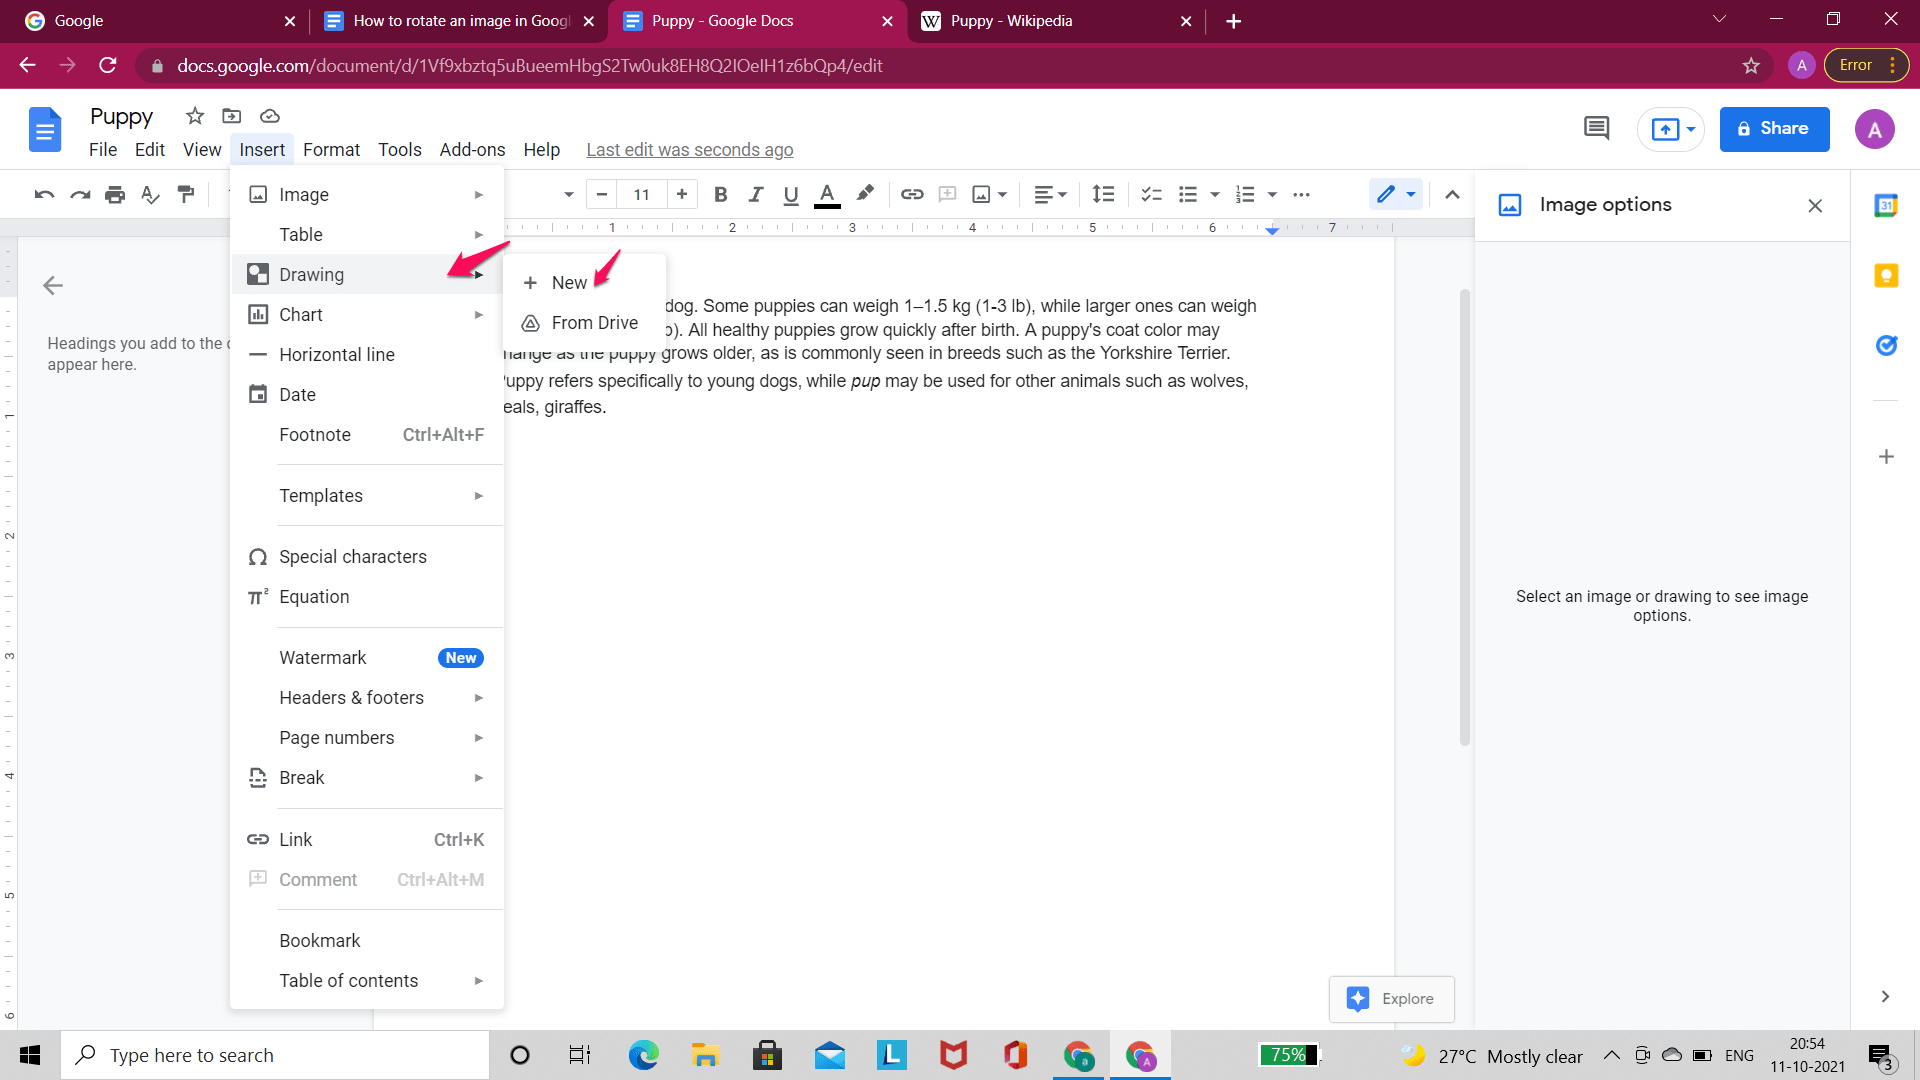
The alternative method involves rotating the image in Drawing. This is a slightly long method with more steps. In this method, you have to insert the image in Drawings and then rotate it. This method is useful if you also want to edit the image. Since it is a bit complicated, we recommend using the two easy methods given above. Step 1: Go to the Google Docs you want to insert the image in. Click on ‘Insert’ and select ‘Drawing’ from the dropdown menu. Next, Click on ‘New’.
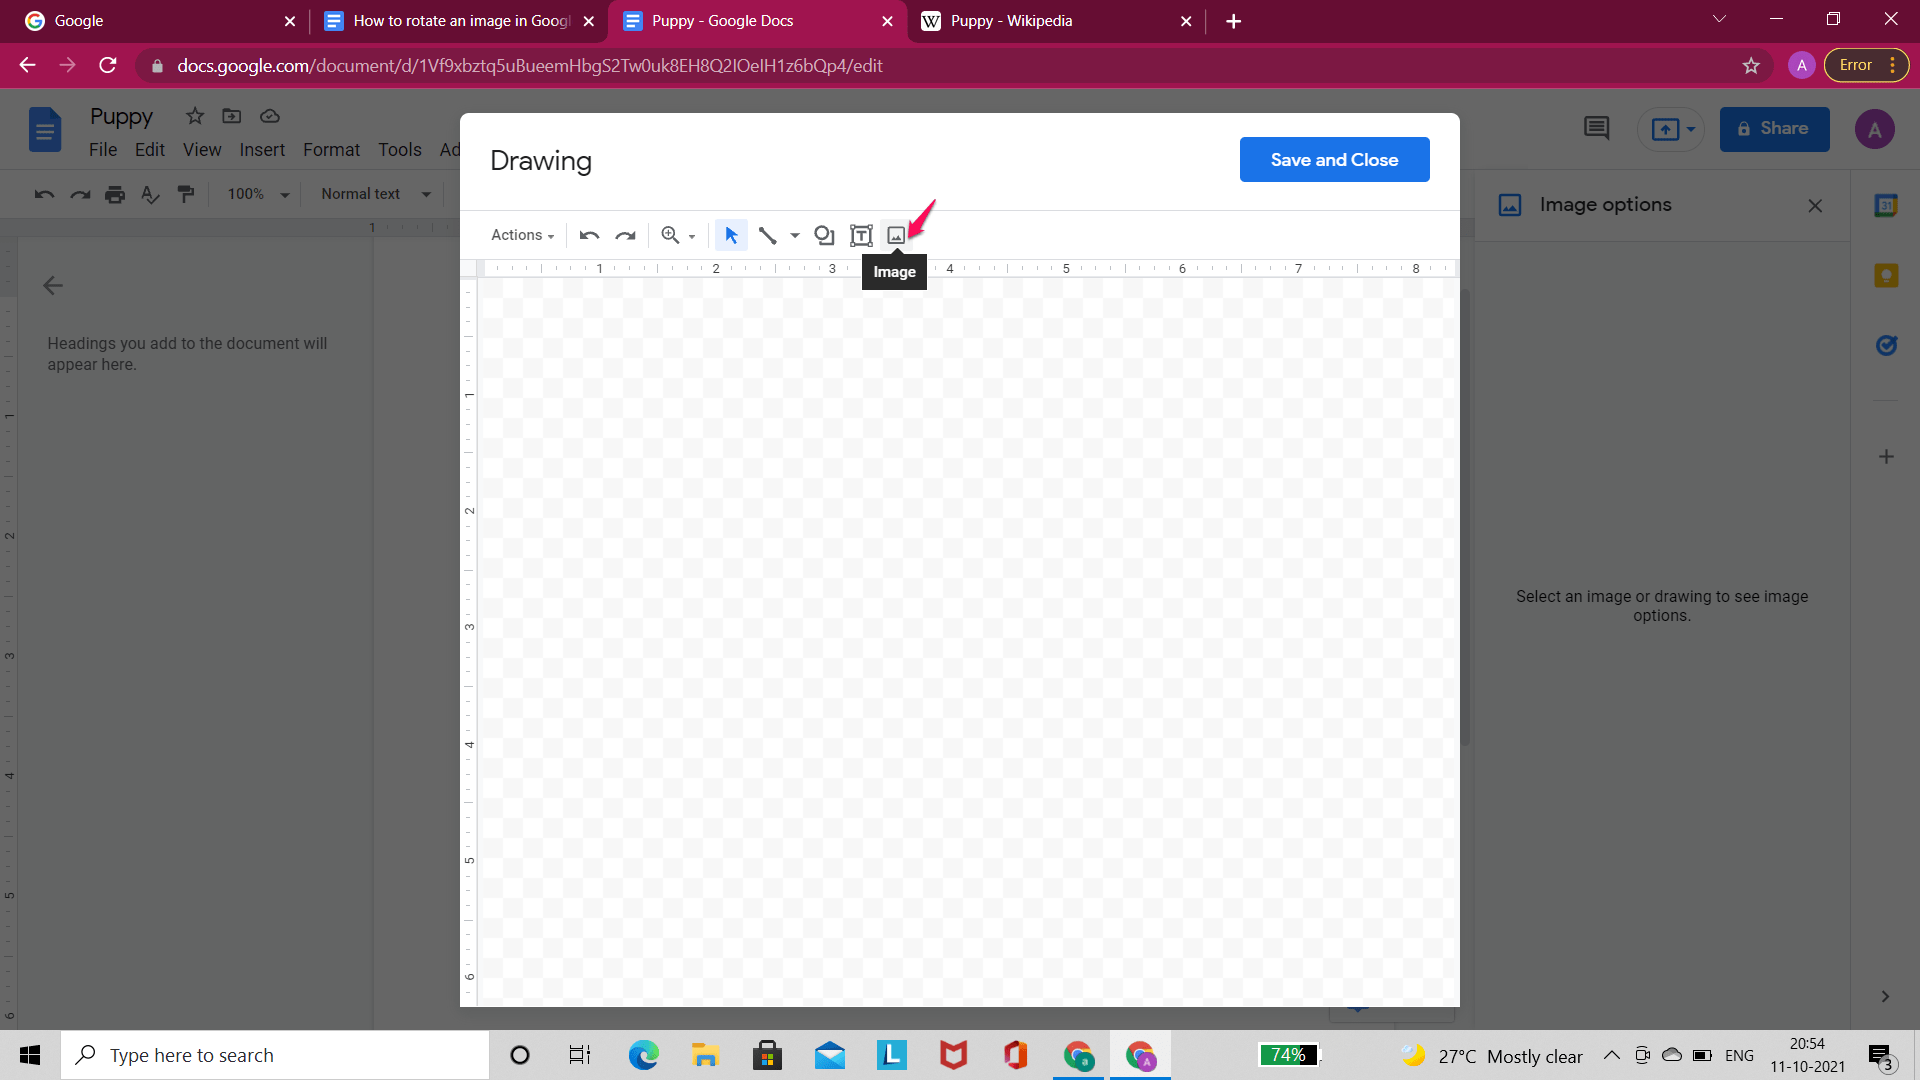
Step 2: Click on the highlighted image icon located at the end of the toolbar. Select the location where you want to upload the image from and insert it.
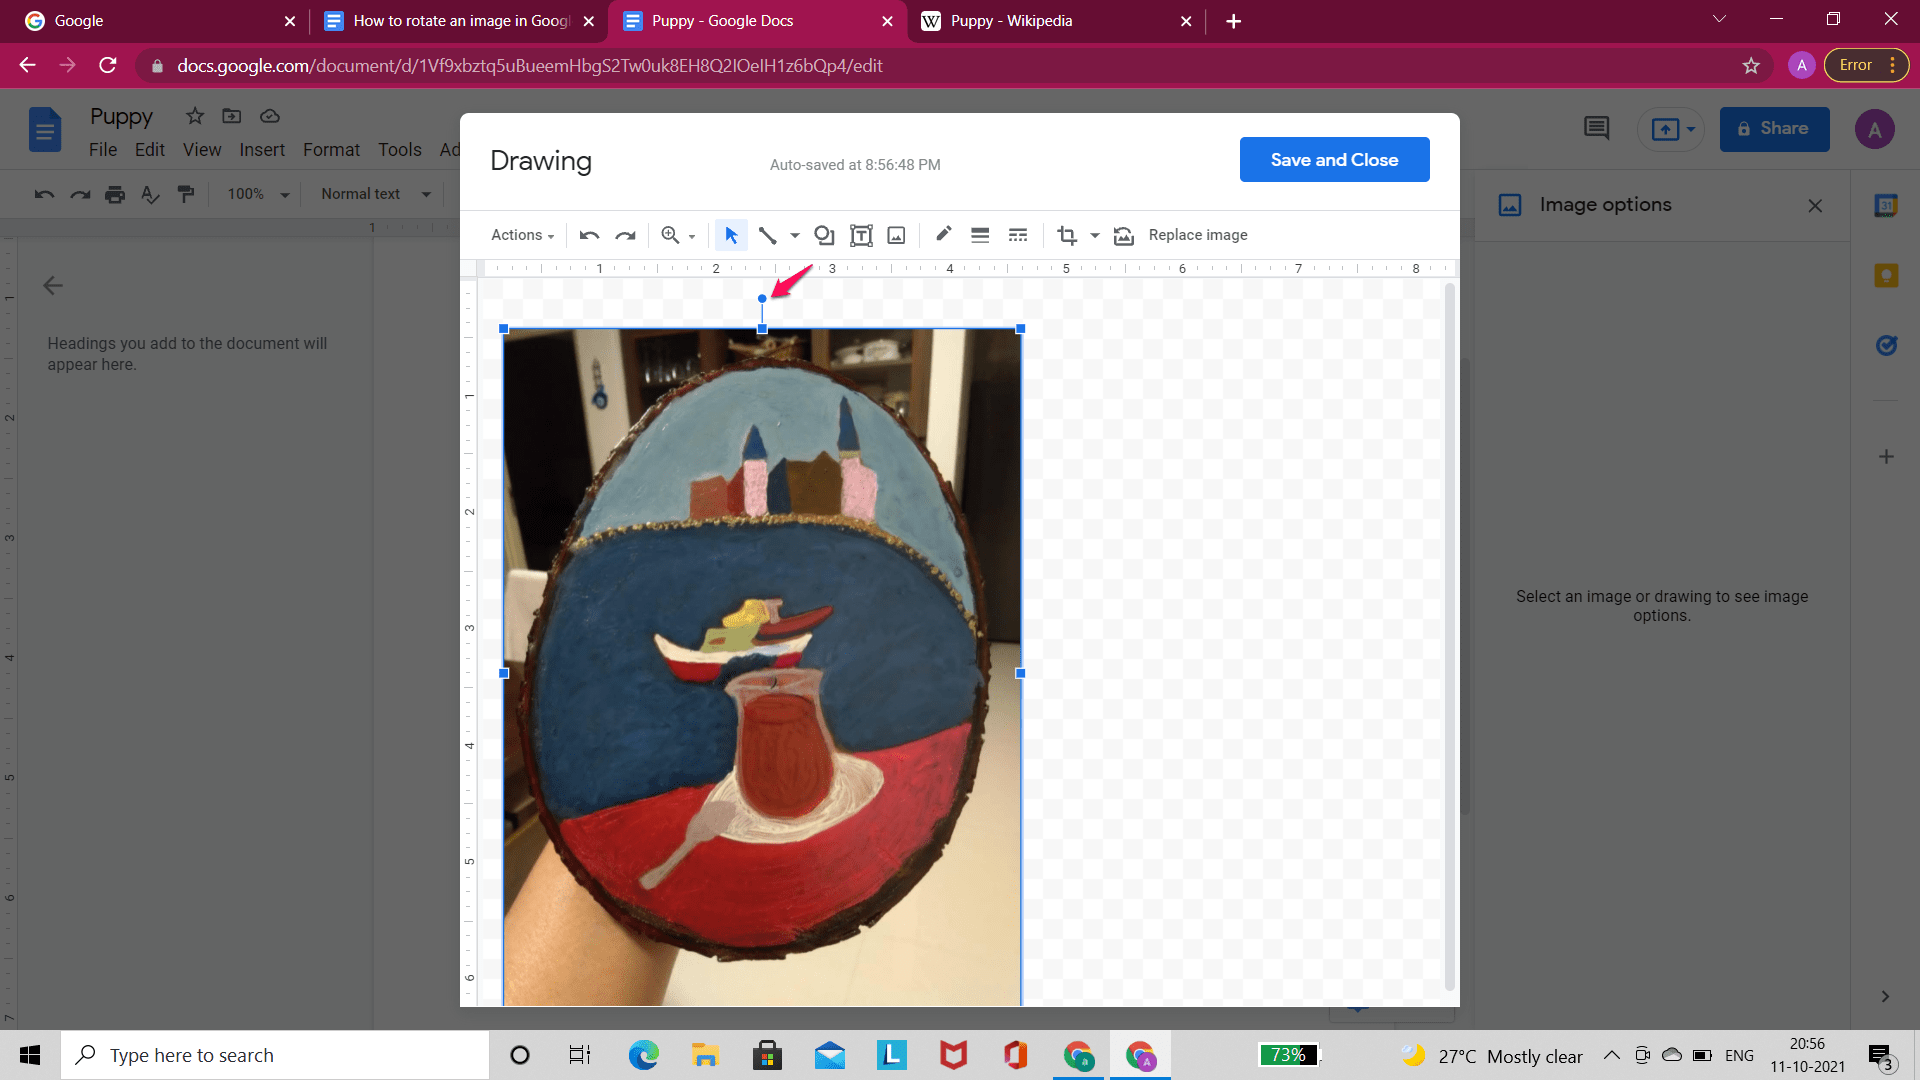
Step 3: Just like the first method, the image, in this case, will have a small blue circle at the top of the border of the image. Rotate this image as per your needs and then click on ‘Save and Close’. The image will be rotated!
Rotating an image VS Flipping an image
Rotating an image and flipping an image in Google Docs are two different things. Flipping an image will mirror it. The image flips either vertically or horizontally.
Conclusion
There you have it, folks! We hope our guide was helpful. We have explained the whole process so you can choose from the three methods provided and try them. Do try them and let us know if you thought it was easy to follow.
![]()
